Happy Halloween!
The day is here, its a weekend, and if you are scrambling for a last minute costume I've got you covered with a quick DIY. I try to be something Pixar or Disney related for pretty much every costumed event and this year my boyfriend and I were short on time and whipped up these costumes inspired by the little green men from Toy Story.
If you have an hour or less you can make a run to your local craft store and get the headband done in under 30 minutes. If you have a little more time on your hands, it will take about 5 hours (mostly dry time for the paint) to make the shirt. I will give you shortcuts throughout this post just in case your super pinched on time.
Oh! and the total cost of the costumes was 12$ so this can be totally budget friendly depending on what you already have. All we had beforehand was the paint, hot glue gun, sharpies, a little fabric and the sewing machine.
What you will need:
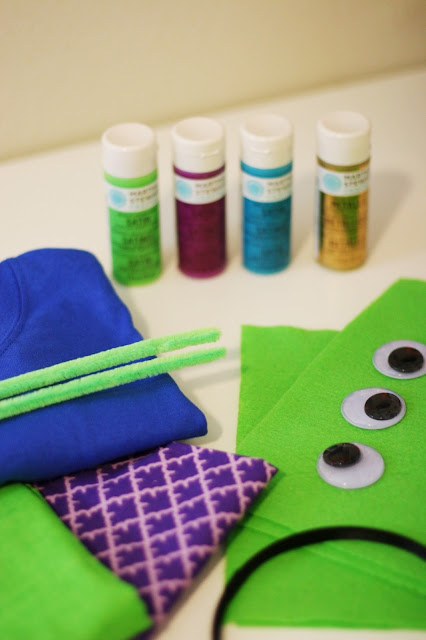
For the headband:
For the shirt:
Royal blue tee shirt ($2.49 at Hobby Lobby)
1/8 yard purple fabric (I used scraps!)
I chose to sew the shirt collars first so I could let the green paint dry while we made the felt headbands. If you are just doing the headbands skip ahead. I found it easiest to cut the fabric into 1 1/2 strips and pin as I went along the edge of the shirt. Remove the sewing arm so that you can rotate the collar as you go along and pin accordingly. I did one stitch along the top of the garment and along the bottom to secure and make it look like an upright cartoon collar.
Once your collar is done (pictured above) outline a circle on the left breast of the shirt in sharpie and paint it in green. Let the circle dry completely before doing anything else to the shirt.
With the felt headbands here is what you need to do, it is super quick once you get the hang of gluing with the hot glue.
1. cut green fabric into thin strips and wrap around the headband, stopping every third wrap around to place glue.
2. Divide felt sheet in half (for the eyes) and then divide on of the new halves in half (for the ears and antenna).
3. Hot glue eyes in a line of three onto the piece of felt and cut around to create desired shape. Fold and glue the eye section around the headband. Add extra pipe cleaner onto the back for support.
4. Cut out ear shapes (like a teardrop) and hot glue on to a pipe cleaner outline if desired. Glue the two ears onto the back of the eye section. Cut out circular shape for the top of the antenna, glue onto pipe cleaner and place.
5. Boom! you are done with the headband!
Once your circle of paint has dried completely, use colored sharpies to replicate the pattern on the "pizza planet" logo. Shape, cut, and glue the orange pipe cleaner along the edge of the circle and repeat with the yellow Saturn ring.
And you are done! You have an absolutely adorable Pixar costume on your hands.
Happy Halloween Friends! If you want to see the costumes in action you can check Instagram!
xo,
Natalie


0 comments:
Post a Comment